 Pin It
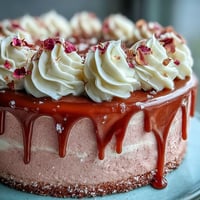
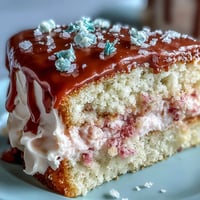
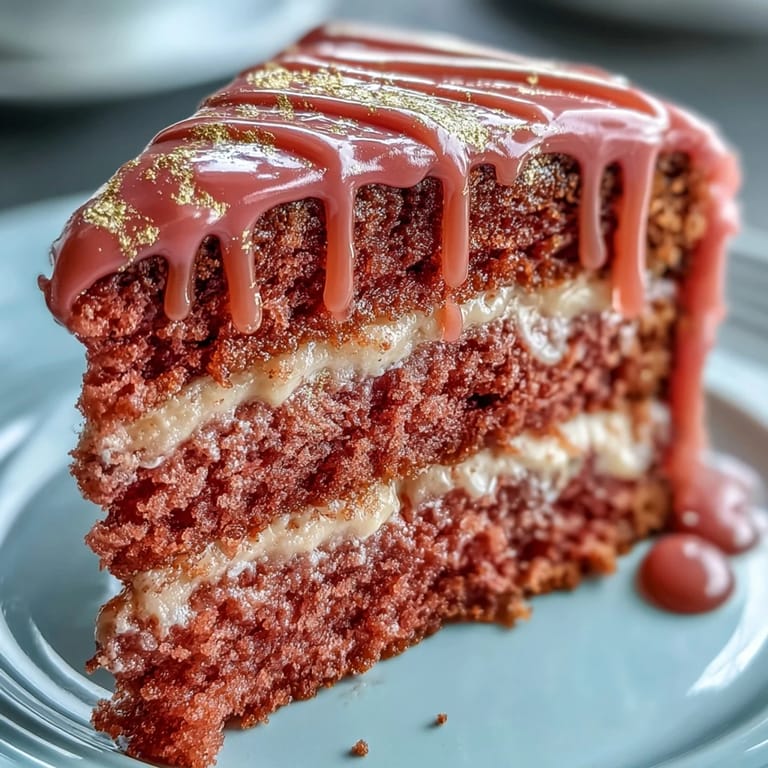
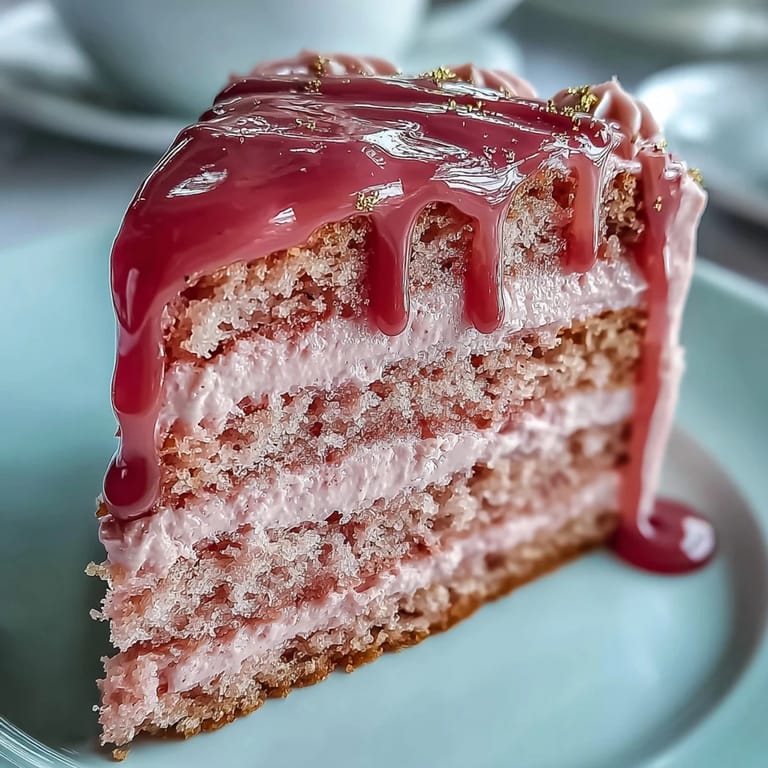
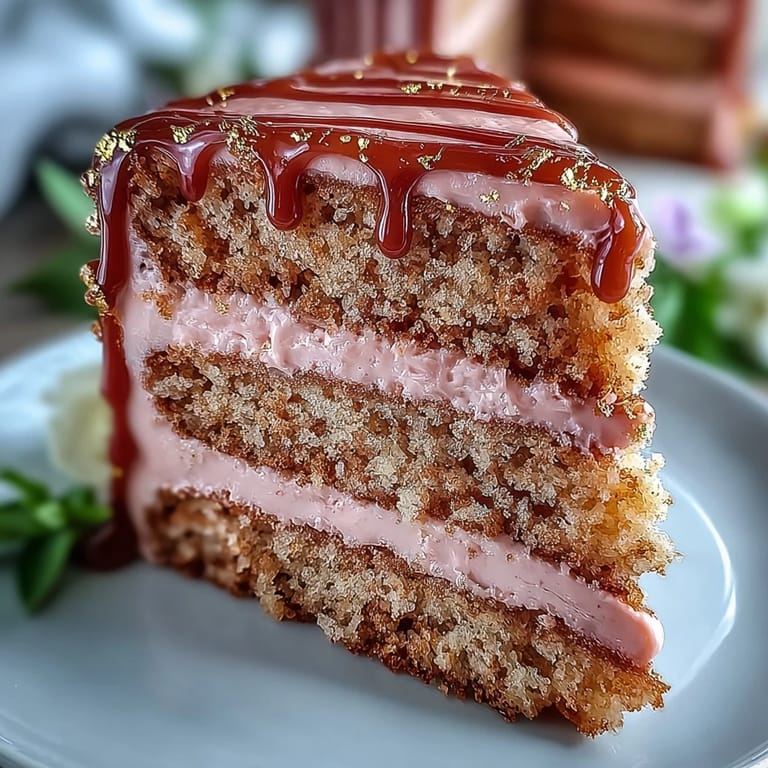
 The first time I laid eyes on a velvet cake, I was enchanted by its rich color and the promise of a delectable taste. As I delved into making this Bridal Shower Rosé Velvet Cake, the delightful scent of vanilla and cocoa wafted through my kitchen, transforming it into a haven of sweetness. I can vividly remember the surprised gasps of my friends when they saw the rosy blush of the cake, adorned with an elegant gold drip. It became more than just dessert; it was the centerpiece of our celebration, embodying love and joy in every bite. Crafting this cake has become a cherished ritual during special occasions, where laughter and fond memories are often shared over a slice.
On a sunny afternoon last spring, I baked this cake for my best friend’s bridal shower. We decorated the table with fresh flowers and bubbles, and the cake became a delightful talking point. As we all took our first bite, there was a moment of blissful silence, quickly followed by laughter and compliments that filled the room. The blush pink layers were met with smiles, making the time spent in the kitchen feel all the more rewarding. That day, the cake turned into a symbol of friendship and celebration, perfectly sweetened by our shared joy.
Ingredients
- All-purpose flour: Provides the structure for the cake and ensures a tender crumb.
- Granulated sugar: Sweetens the cake, creating a light texture when creamed with butter.
- Unsweetened cocoa powder: Offers a subtle chocolate depth, enhancing the flavor without overpowering the rosé.
- Rosé wine: Infuses the cake with a delicate fruitiness that pairs beautifully with the frosting.
- Unsalted butter: Essential for richness, it helps to create that velvety texture, making each bite luxurious.
Tired of Takeout? 🥡
Get 10 meals you can make faster than delivery arrives. Seriously.
One email. No spam. Unsubscribe anytime.
Instructions
- Prepping the Cakes:
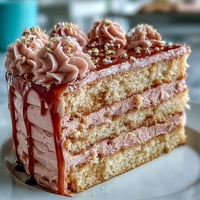
- Preheat your oven to 350°F (175°C) and prepare three 8-inch round cake pans by greasing and lining them with parchment paper. The smell of the butter in the oven will set the stage for your cake.
- Sifting Dry Ingredients:
- In a medium bowl, sift together the flour, cocoa powder, baking soda, baking powder, and salt. Sifting helps to mix the ingredients thoroughly and aerates the flour for a lighter cake texture.
- Creaming Butter and Sugar:
- In a large bowl, cream the softened butter and granulated sugar until it's light and fluffy, which should take about 3 minutes. The mixture should turn pale, and the sweet aroma will fill the air!
- Incorporating Wet Ingredients:
- Beat in the eggs one at a time, followed by the vanilla extract, mixing until well combined. The batter should feel luxurious at this point, creamy and inviting.
- Mixing the Batter:
- Gradually add the buttermilk, rosé wine, and vinegar to the butter mixture, then slowly mix in the dry ingredients until just combined. Don’t over-mix, or your cake might end up dense!
- Adding Color and Baking:
- Add pink food coloring gel until you achieve your desired blush color, then divide the batter among the prepared pans. The cakes will need about 30–35 minutes in the oven, until a toothpick comes out clean.
- Cooling and Frosting:
- After letting the cakes cool in the pans for about 10 minutes, turn them out onto wire racks. When completely cool, beat the frosting ingredients together until fluffy and use it to layer your cake.
- Creating the Gold Drip:
- For the gold drip, melt white chocolate chips with heavy cream, cool slightly, then drizzle over the edges of your frosted cake. Painting the drip with gold luster dust adds a stunning finishing touch!
- Chill and Serve:
- Chill the cake for at least 30 minutes before serving, allowing the flavors to meld beautifully. Slice and watch your guests’ eyes light up!
 Pin It
 As I served this cake, it became clear that it was more than just dessert; it was a shared moment of happiness. Everyone savored the flavors, and I watched their faces light up with each bite, united by a simple slice of cake that held memories of our gathering.
A Little Extra Love
The magic truly happens when you let this cake settle overnight in the fridge; the flavors deepen, making each bite even more harmonious. It’s worth the wait for those special occasions.
Decorating Your Cake
You can get creative with toppings! Try fresh flowers, berries, or edible glitter for a festive flair. Just be sure to keep the colors coordinated for an elegant presentation.
Storing Your Cake
To preserve its lusciousness, store any leftovers in an airtight container in the fridge.
- Always cover the exposed cake with plastic wrap to maintain moisture.
- A slice of bread with the cake helps keep it fresh longer.
- Enjoy it within a few days to savor its peak flavor.
 Pin It
 Creating this cake has been a delightful journey filled with laughter and joy, and I hope it brings the same warmth to your special moments.
Your Questions Answered
- → What is a rosé velvet cake?
A rosé velvet cake is a variation of traditional velvet cake, incorporating rosé wine for subtle flavor and blush color.
- → How do I achieve the perfect blush color?
Add pink food coloring gel gradually until you reach your desired shade of blush in the batter.
- → Can I make this cake alcohol-free?
Yes, you can substitute rosé wine with sparkling grape juice for a non-alcoholic version.
- → What should I use for decoration?
Top the cake with edible flowers, gold leaf, or fresh berries to enhance its elegance.
- → How should I store the cake?
Store the cake in an airtight container in the refrigerator, and it will last for up to three days.