 Pin It
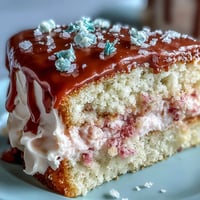
 Whenever summer rolls around, the markets near my apartment fill up with bins overflowing with shiny, red cherries. The subtle pop as you pit each one, juice staining your fingers a bright magenta, sets the stage for something truly special. I stumbled into clafoutis out of curiosity more than nostalgia: the idea of baking fruit into a custard seemed so effortlessly elegant. Once I’d scraped fresh vanilla into the batter, I was hooked by the scent alone. Pulling it from the oven, its gentle wobble and rustic golden edges felt like a small triumph at the end of a busy afternoon.
I’ll never forget the first time I set this clafoutis on the table at a picnic in the park. My friends debated—forks or fingers—before the first wedge had even finished cooling and we ended up eating it straight from the pan, powdered sugar dusting our fingertips and noses in the sunshine. It was that kind of happy mess that somehow made the whole thing more memorable. Even now, just thinking of the laughter and the slightly lopsided slices makes me crave this dessert. Summer, vanilla, and cherries all in one bite—what more could you want?
Ingredients
- Fresh sweet cherries: Absolutely the star—choose plump, dark cherries and if your fingers end up purple from pitting, you’re doing it right.
- Eggs: Let them come to room temperature for the fluffiest custard base.
- Granulated sugar: Balances the tart sweetness of cherries and caramelizes into those perfect golden edges.
- Vanilla bean: Scraping real seeds gives a rich flavor you can't fake—don’t skip if you can find it.
- All-purpose flour: Just enough to set the custard without making it cakey—sift to avoid any lumps.
- Salt: I learned that a pinch brightens all the flavors—don’t leave it out.
- Whole milk and heavy cream: These add an unforgettable silkiness; skim just won’t cut it.
- Unsalted butter: Cool before mixing, and don’t forget extra for the pan so nothing sticks.
- Powdered sugar: That snowy finish turns the humble into something a little magical.
Tired of Takeout? 🥡
Get 10 meals you can make faster than delivery arrives. Seriously.
One email. No spam. Unsubscribe anytime.
Instructions
- Get the oven and dish ready:
- Set your oven to 180°C (350°F) and generously butter a 24cm (9–10 inch) round baking dish—the extra makes for easy unmolding later.
- Layer the cherries:
- Scatter your freshly pitted cherries evenly over the bottom—don’t worry if it looks crowded, they settle into the custard perfectly.
- Mix eggs and sugar:
- In a bowl, whisk eggs and sugar together until the mixture turns pale and thickened; the sugar should almost disappear.
- Add vanilla, flour, and salt:
- Blend in the seeds from your split vanilla bean, and whisk in flour and salt until no dry spots remain.
- Incorporate liquids and melted butter:
- Gradually add milk, cream, and melted butter, whisking until your batter is smooth and lump-free—it’s worth a little patience here.
- Assemble and pour:
- Gently pour your batter over the cherries, letting it pool and coat every little gap.
- Bake until just set:
- Place the dish in the oven for 35–40 minutes, watching for golden edges and a slight wobble in the center.
- Cool slightly and finish:
- Let it cool for about 15 minutes—then sift powdered sugar over the top for a pretty, crackly finish.
- Serve and savor:
- Enjoy warm or at room temperature; each slice holds the essence of summer.
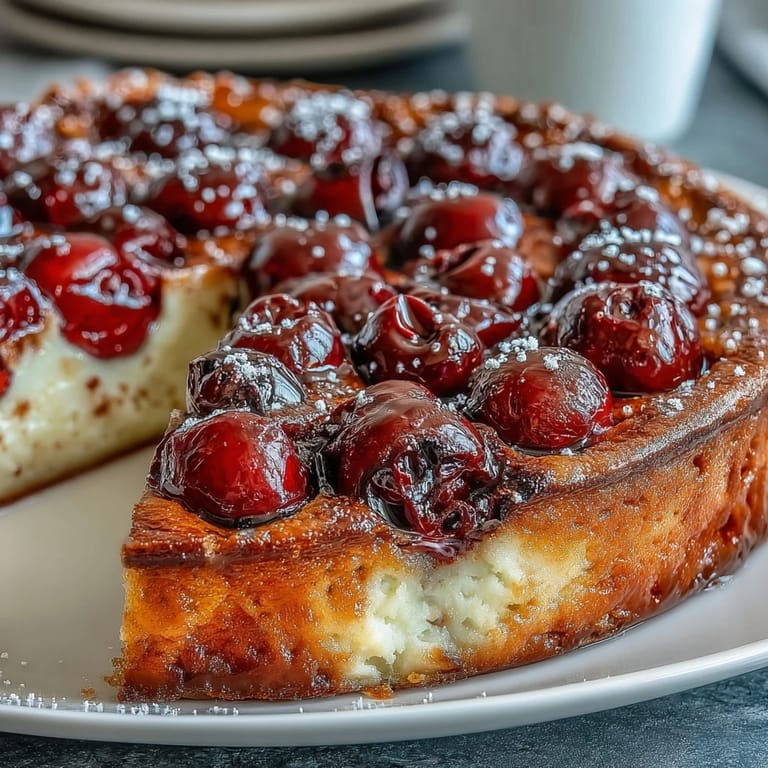
 Pin It
 It’s funny how this recipe turned into my go-to comfort bake—I brought it to a neighbor who’d just moved in, and she told me the vanilla scent made her kitchen feel like home instantly. That small gesture turned into a weekly ritual, sharing slices and stories over coffee as the days got warmer.
Swapping Fruits for the Season
Cherries are classic, but I’ve discovered that apricots, plums, or a handful of wild berries can work wonders with the same base. Sometimes, I reach for whatever looks best at the market—even apple slices in early fall—letting the seasons steer my kitchen experiments.
Making the Most of Your Vanilla
Whenever I use real vanilla bean, I save the scraped pod to nest in a jar of sugar, infusing it for the next round of baking. A little vanilla goes a long way, and swirling its flecks into the batter always feels like a luxury worth savoring.
Small Kitchen Lessons
If you’re out of heavy cream, don’t be afraid to up the milk slightly—it won’t be quite as silky, but your clafoutis will still disappear within minutes. Greasing your baking dish well is non-negotiable, and those bits that caramelize at the edge? Those are chef’s perks. Most important: this is a rustic dessert—perfection isn’t the point.
- Leftover clafoutis is great for breakfast the next day.
- Chill it for a firmer texture, or serve immediately for an ultra-soft center.
- Let your cherries shine—their flavor is everything.
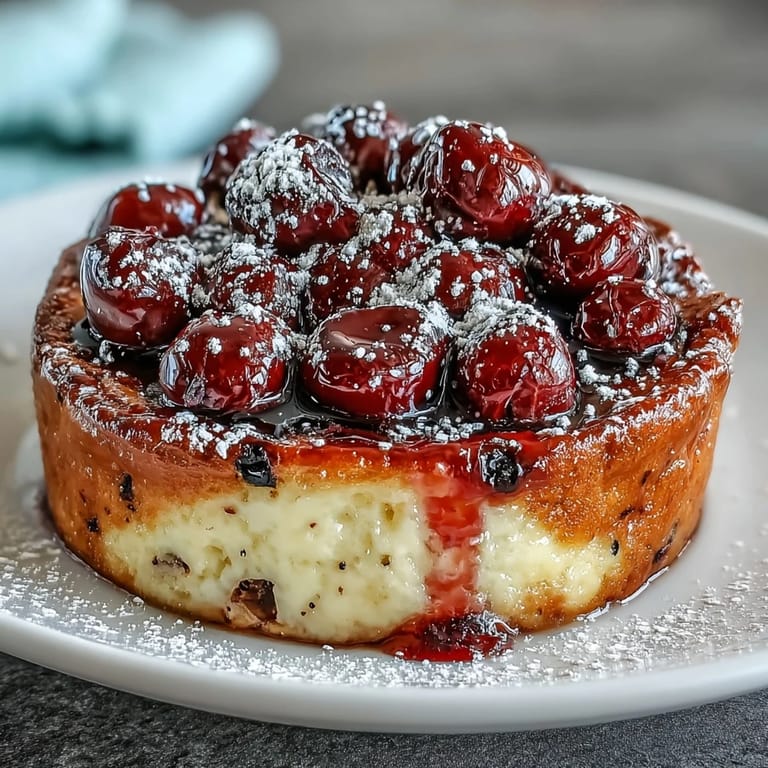
 Pin It
 However you serve this clafoutis, I hope it brings a little extra joy to your table. Friends and seasons may change, but good desserts—especially ones shared—always leave warm memories behind.
Your Questions Answered
- → Can I use frozen cherries?
Yes. Thaw and drain frozen cherries well to avoid excess moisture; pat dry before layering. You may need a few extra minutes of baking time if the fruit releases more juice.
- → Do I need to pit the cherries?
Pitting is recommended for convenience and safety when serving, though leaving pits in is the traditional approach and adds a subtle almond note to the final dish.
- → How do I tell when the clafoutis is done?
The edges should be set and lightly golden while the center remains slightly tender and jiggles only a little. It will continue to firm as it cools; avoid overbaking to keep a custardy texture.
- → Can I prepare it ahead of time?
Yes. Bake and cool completely, then cover and refrigerate for up to 24 hours. Rewarm gently in a low oven before serving or serve at room temperature.
- → What are good substitutions or flavor variations?
Try swapping cherries for other stone fruits like apricots or plums, add a splash of kirsch or orange zest to the batter, or finish with a dusting of cinnamon for extra warmth.
- → Any tips for dietary swaps?
Use a plant-based milk and a gluten-free flour blend to accommodate dairy or gluten restrictions; textures will vary, and egg replacements may alter the custard’s set.