 Pin It
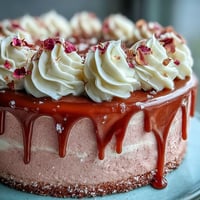
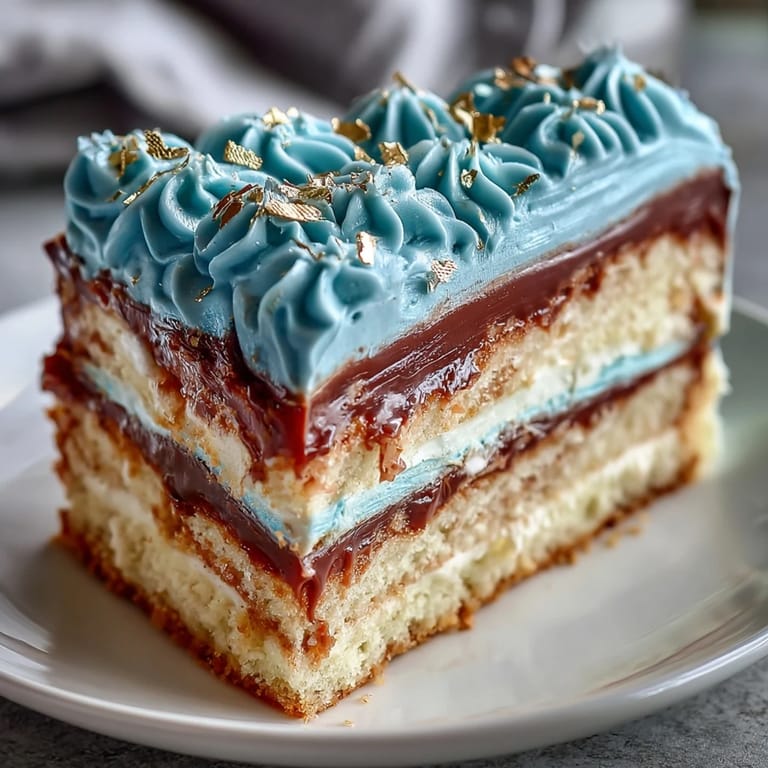
 The first time I attempted a grand ombre cake, my kitchen looked like an artist's studio—blue streaks on the counter, gold glimmer on my fingers, and laughter echoing off the cabinets. There was a satisfying hush all around as the layers rose in the oven, and I could almost hear myself thinking: Will it turn out as stunning as in the photos?. I remember stopping to admire the deep blue batter, swirling just enough to create perfect gradations. Baking felt both a celebration and a small experiment every step of the way. It's funny how decorating a cake for a graduation turned a gray Saturday into a lively afternoon, complete with unsolicited critiques from younger siblings.
When my cousin's graduation rolled around, she insisted on blue—her school colors—and a touch of gold for a bit of magic. I baked quietly while my nephew read flashcards aloud nearby, cheering every time he guessed a term right. As we built the cake layer by layer, the room was filled with anticipation and occasional bursts of pride. Someone dropped a spoon, flour dust plumed, and just like that, it felt like a party before the main event. When the cake finally stood tall, everyone gathered, inspecting the gold shimmer as if it bestowed actual good luck.
Ingredients
- All-purpose flour: Gives structure to the layers—always sift for a lighter cake crumb.
- Baking powder: Ensures each layer rises evenly and isn't dense.
- Baking soda: Balances acidity and guarantees tender texture.
- Salt: A little enhances the vanilla and balances sweetness.
- Unsalted butter: Room temperature is crucial—creamed butter brings out airy cake.
- Granulated sugar: Not just sweet; it provides moisture and caramelizes the cakes' edges.
- Eggs: These bind everything together and add richness—crack them gently to avoid shell bits.
- Pure vanilla extract: The aromatic backbone; double-check if it's real for best results.
- Whole milk: Makes cakes moist—bring to room temp so batter doesn't seize.
- Blue gel food coloring: Gel is best for vibrant layers without watering the batter; start light and add gradually.
- Powdered sugar: Sifted to avoid lumps in buttercream and keep it silky.
- Milk or cream: Just a splash—adds creaminess and keeps the frosting smooth.
- Edible gold leaf or gold dust: Handles best with dry hands; check labels for edible safety.
- Clear alcohol: Needed if using gold dust; evaporates quickly and leaves shimmer behind.
Tired of Takeout? 🥡
Get 10 meals you can make faster than delivery arrives. Seriously.
One email. No spam. Unsubscribe anytime.
Instructions
- Preheat and Prepare:
- Set your oven to 350°F (175°C) and line your cake pans with parchment—this always helps layers lift out cleanly. The smells of warm vanilla start to fill the kitchen as you grease the pans.
- Mix Dry Ingredients:
- Whisk flour, baking powder, soda, and salt, listening for the soft hiss of sifting—don't rush this, as it evens out flavor.
- Cream Butter and Sugar:
- Beat butter and sugar until pale and fluffy; watch as the mixture lightens and thickens, hinting at the cake's eventual softness.
- Add Eggs and Vanilla:
- Crack eggs one by one into the mix, scraping the sides after each—laughter often erupts here if someone gets a stray shell. Pour in vanilla and feel the aroma deepen.
- Combine Dry and Wet:
- Alternately fold in the flour mix and milk, starting and ending with flour. The batter becomes glossy and smooth right under your spatula.
- Tint and Divide Batter:
- Evenly distribute batter into three bowls, then add blue gel colors—each shade deepens with a gentle stir. It's worth pausing here to admire your ombre gradient.
- Bake Layers:
- Pour the batters into prepared pans, smoothing the tops as music plays in the background. Bake until a toothpick emerges clean—usually 25–30 minutes.
- Cool Completely:
- Let the cakes rest in the pans for 10 minutes, then flip onto racks—steam escapes and the colors glisten. The urge to snack is almost irresistible.
- Make Buttercream:
- Whip butter until creamy, slowly adding sifted sugar to avoid clouds. Blend in vanilla, salt, and milk or cream, mixing until smooth and pillowy.
- Tint Frosting:
- Reserve a cup for a plain crumb coat, then color the rest deep blue—each swirl feels magical.
- Assemble Layers:
- With an offset spatula, level the cakes and stack darkest to lightest, spreading frosting in between. Moments of panic at uneven edges fade once you see the ombre effect.
- Apply Crumb Coat:
- Spread a thin layer of plain buttercream all over; chill for 20 minutes to set. Don't worry if it looks messy—this helps trap loose crumbs.
- Finish Frosting:
- Use blue buttercream, working from bottom up for ombre. If desired, blend lighter tones toward the top for a soft fade; the turntable makes this easier.
- Add Gold Accents:
- Place edible gold leaf or brush gold dust mixed with alcohol in streaks or along the edges—each touch seems like a celebration. Stand back and admire your edible artwork.
- Chill and Serve:
- Refrigerate until ready; the layers firm, and the colors intensify as the cake sits. Slice with a large knife and savor the moment.
 Pin It
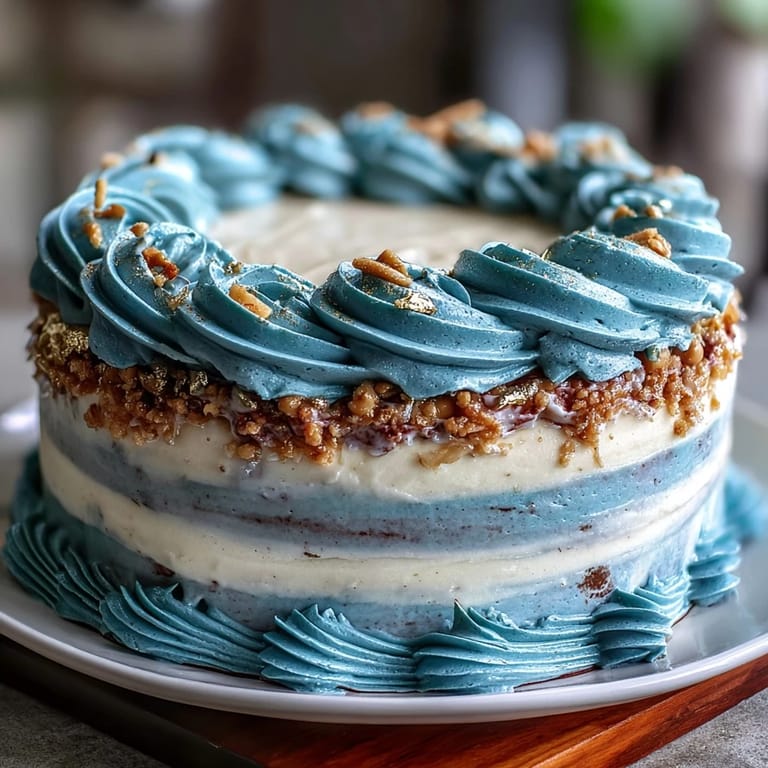
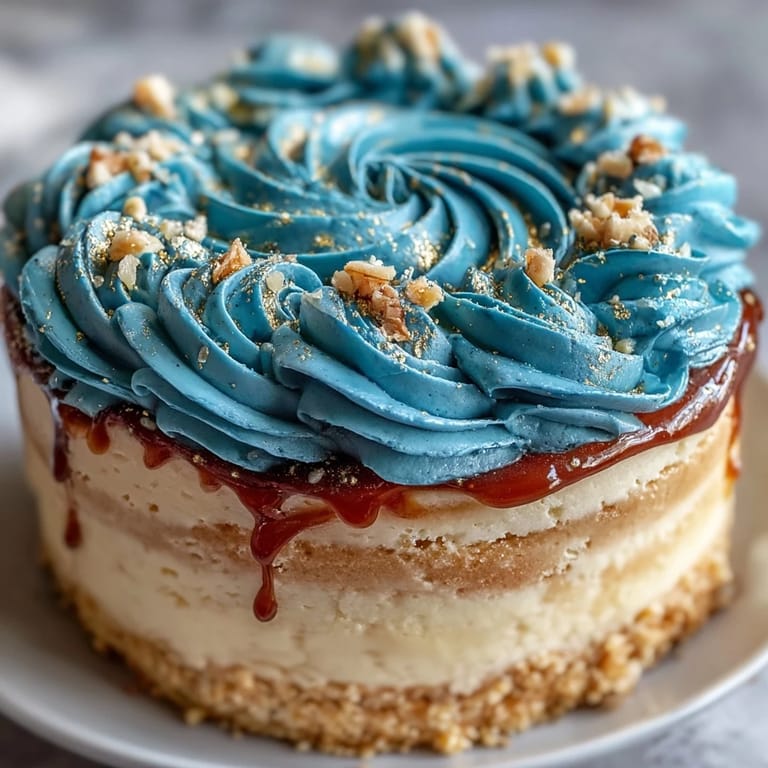
 At the graduation party, the cake became a centerpiece for photos, but my favorite moment was when my nephew quietly reached for the slice with the most gold. In that instant, it was more than a dessert—it felt like a badge of celebration, a reminder of everyone's little victories.
How to Get the Perfect Ombre Effect
Swirling blue food coloring for the gradient is best done gradually—add a tiny bit, mix, and compare with the other bowls so each shade stands out. Gel coloring is your friend, as it won't thin out the batter and keeps colors intense. Work under natural light or with a bright bulb so you can see the hues accurately. If unsure, dip a spoon in and test a bit on parchment before committing to the final color.
Decorating with Gold Accents
Using gold leaf can feel intimidating, but it's surprisingly simple once you start—tweezers help keep it from sticking to your hands. Gold dust mixed with alcohol lets you brush streaks or dots, catching light for dramatic effect. Never crowd the cake with gold; just a few arcs or flecks elevate the final look. Extra gold leaf can be stored for future baking adventures.
Troubleshooting Layer and Frosting Mishaps
If your cake layers dome a bit, just level with a knife before stacking—this avoids a lopsided cake. Should frosting seem too thick, beat in a teaspoon of milk at a time till spreadable. If gold leaf tears, patch gently with another piece or use dust to cover mistakes.
- Always check that gold decorations are edible—never assume.
- Cool your cakes fully before assembling, or buttercream will melt.
- Cake turntables make smooth frosting much easier.
 Pin It
 Enjoy every slice—each one is a statement of celebration and care. If the cake is imperfect, all the better; it's proof you made it just for them.
Your Questions Answered
- → How is the ombre effect achieved?
The batter is divided and each portion tinted with varying shades of blue gel color before baking, creating gradient layers.
- → What is used for the gold decoration?
Edible gold leaf or gold dust mixed with clear alcohol is applied as streaks or accents for a luxurious finish.
- → Can I use more than three cake layers?
Yes, adding extra layers with increasing blue intensity enhances the ombre effect for a more dramatic presentation.
- → What kind of buttercream is used?
Classic vanilla buttercream is whipped to a creamy consistency and tinted dark blue for the final coat.
- → Which occasions suit this cake?
Perfect for graduations, milestone events, or any sophisticated celebration needing a visually stunning dessert.
- → Are there any allergen concerns?
The cake contains wheat, eggs, and dairy. Always confirm gold decorations are safe and edible.