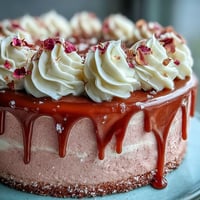
 Pin It
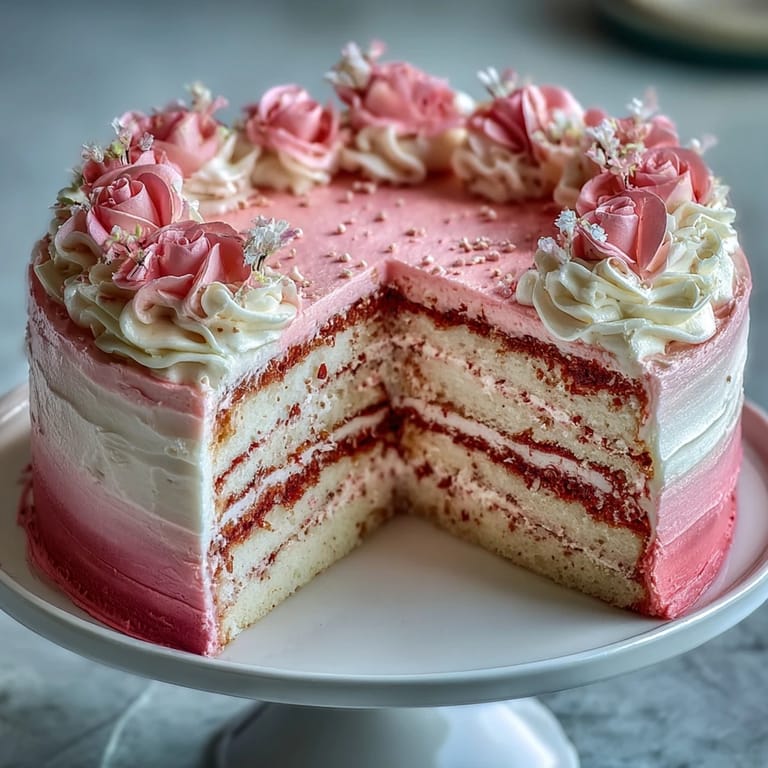
 My sister called me three weeks before Mother's Day in a slight panic—she'd promised Mom a homemade cake but had no idea where to start. I found myself at her kitchen table with Pinterest open and a vague memory of watching our grandmother frost layer cakes with the kind of precision that made it look effortless. That afternoon, we made this pink ombre cake together, and somewhere between the third bowl of buttercream and carefully placing those first edible flowers on top, I realized we'd created something that felt both elegant and deeply personal. It became our tradition that year, and now whenever someone asks for a show-stopping dessert, this is what comes to mind.
I'll never forget frosting this cake for my coworker's mom's surprise party—I was nervous the ombre wouldn't work, but as I spread each shade of pink higher up the sides, people started gathering in the break room just to watch. When we finally carried it out, Mom gasped in a way that made every wobbly spatula stroke worth it. That's when I understood that cakes like this aren't just dessert; they're edible love letters.
Ingredients
- All-purpose flour: Use fresh flour and sift it before measuring—this keeps your cake from becoming dense and heavy, which is the opposite of what you're after here.
- Baking powder: This is your lift, so don't skip it or use baking soda as a substitute unless you know what you're doing.
- Unsalted butter: Room temperature is non-negotiable; cold butter won't cream properly and you'll lose that fluffy texture that makes people ask for seconds.
- Granulated sugar: Creaming this with butter creates tiny air pockets that make the cake tender, so take the full 3-4 minutes even if your arm gets tired.
- Large eggs: Room temperature eggs blend smoothly into the batter without creating lumps or cool spots.
- Pure vanilla extract: The real stuff makes a difference you can taste, especially when vanilla is the star of the show.
- Whole milk: Should be room temperature so it doesn't shock the batter and deflate all that careful creaming work.
- Powdered sugar: Sift this before using to break up any lumps that could make your buttercream grainy.
- Heavy cream or milk: Adds richness and helps achieve that silky buttercream texture without making it too soft.
- Gel food coloring: Better than liquid because it won't thin out your buttercream and the colors are more vibrant and true.
- Edible flowers: Use violets, pansies, or rose petals that you know are pesticide-free, or buy them from specialty baking stores where they're grown specifically for eating.
Tired of Takeout? 🥡
Get 10 meals you can make faster than delivery arrives. Seriously.
One email. No spam. Unsubscribe anytime.
Instructions
- Prep your pans and preheat:
- Get your oven to 350°F and take a moment to grease those three 8-inch pans generously, then line the bottoms with parchment. This step takes two minutes but saves you from cake stuck to the pan, which would ruin your whole day.
- Mix your dry ingredients:
- Whisk flour, baking powder, and salt together in a medium bowl—this distributes the leavening evenly so your cake rises uniformly. Set it aside and move on to the magic part.
- Cream butter and sugar:
- Beat these together until the mixture looks pale and fluffy, like clouds, which takes about 3-4 minutes on high speed. You'll notice the texture change as you go—that's the air doing its job.
- Add eggs one at a time:
- Drop each egg in and beat until it disappears completely before adding the next one; this ensures they blend smoothly into the batter. Scrape down the bowl between eggs so nothing hides in the corners.
- Incorporate vanilla:
- Add the vanilla extract and beat briefly to combine. The smell at this point is irresistible.
- Alternate dry and wet ingredients:
- Add flour mixture and milk in three additions, starting and ending with flour—this keeps the batter from getting tough or curdling. Mix just until combined after each addition; overmixing is the enemy here.
- Divide batter evenly:
- Split the batter between your three prepared pans as evenly as possible so all three layers bake at the same rate. Use a kitchen scale if you want to be precise, or just eyeball it and trust your instincts.
- Bake until golden:
- Bake for 25-30 minutes until a toothpick inserted in the center comes out clean or with just a few moist crumbs. The kitchen will smell incredible, but resist peeking too much.
- Cool properly:
- Let cakes rest in their pans for 10 minutes—this sets them just enough to unmold without falling apart. Then turn them out onto cooling racks and let them cool completely before frosting, which usually takes a couple of hours.
- Make the buttercream:
- Beat room-temperature butter until creamy, then gradually add sifted powdered sugar while mixing on low. Once it comes together, add vanilla and cream, then beat on high for 3 minutes until it's fluffy and cloud-like.
- Create your ombre effect:
- Divide buttercream into four bowls and leave one white, then add increasing amounts of pink gel coloring to the other three. The deepest pink goes on first, then medium, then light on top—it's like painting with frosting.
- Layer and frost:
- Place the first cake layer on your serving plate, spread the darkest pink buttercream on top, add the second layer with medium pink, then the final layer with light pink on top. Use an offset spatula to smooth everything and create that beautiful gradient effect up the sides.
- Perfect your finish:
- If you want the ombre to blend seamlessly, use a bench scraper or even a clean knife to gently blend the colors where they meet. Don't stress if it's not perfect—flowers hide a multitude of frosting sins.
- Decorate with flowers:
- Add edible flowers just before serving for the freshest appearance, or arrange them gently into the frosting where you want them. Step back and admire your work—you've just made something beautiful.
- Chill before serving:
- Refrigerate the finished cake for at least 30 minutes so the frosting firms up and your slices come out clean and gorgeous. This also gives the flavors time to meld together.
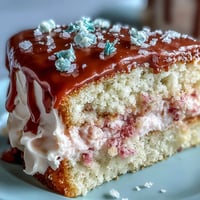
 Pin It
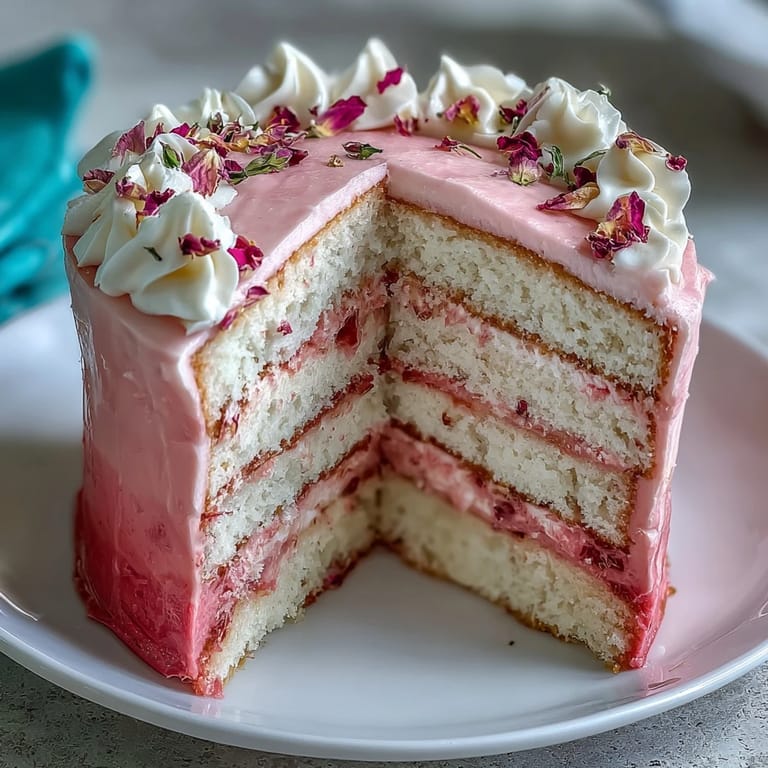
 There's a moment when you're decorating this cake where it stops being just dessert and becomes a portrait of effort and care. I think that's why people get emotional over homemade cakes—not because they taste better than grocery store versions (though they do), but because someone spent time thinking about making something special for them.
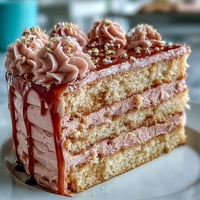
Why Ombre Buttercream Works
The gradient effect isn't just pretty—it's actually a forgiving technique because the eye follows the color transition and doesn't notice small imperfections in your frosting application. The darker pink on the inside of the cake gets hidden by the layers, so that's where you can be messier, and the lighter pink on top naturally directs attention upward where your flower decorations shine. This is psychology meets baking, really.
The Flowers Make All the Difference
I learned this the hard way by frosting an entire cake beautifully, then realizing it looked bare and a little sterile until I added those edible flowers. Now I always buy or pick my flowers first, arrange them loosely on the counter so I know where they're going, and add them at the very last moment before serving. Fresh flowers wilt quickly, so they need to go on right before people see the cake.
Make-Ahead Magic and Storage
This cake is genuinely forgiving about timing, which is a gift when you're planning something special. You can bake the layers a full day ahead, wrap them well, and frost the next day—or frost everything the morning of an evening celebration and it'll be perfect by dinner time. The buttercream keeps the cake moist, and it actually tastes better after a few hours as flavors settle.
- Store the finished cake in the refrigerator, loosely covered, for up to three days.
- If you're using non-edible flower toppers for decoration, remove them before serving and eat only the edible flowers or florals.
- Bring the cake to room temperature for about 15 minutes before serving so the buttercream is soft and the flavors are at their best.
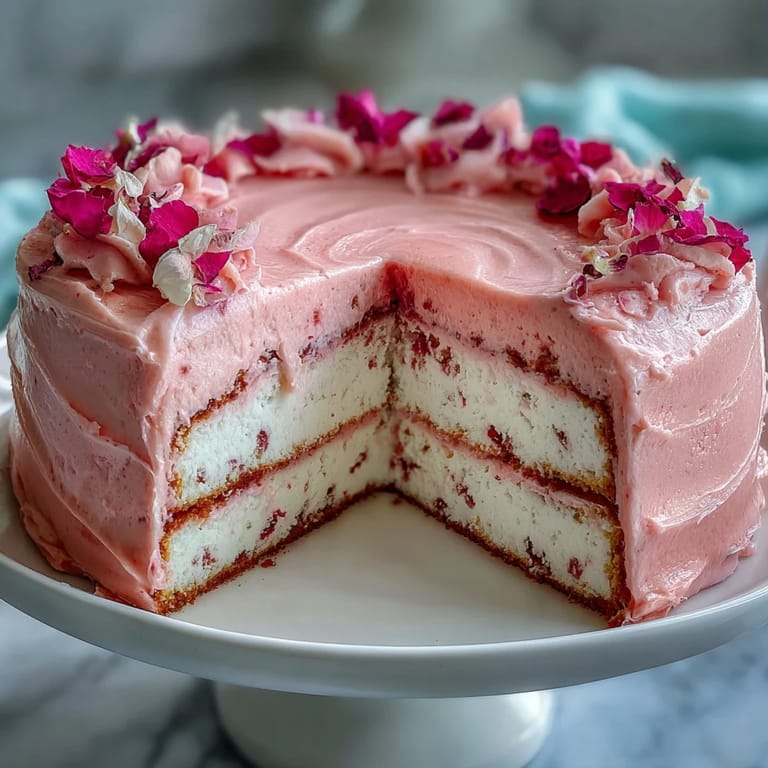
 Pin It
 Every time someone takes a slice of this cake, you're giving them not just dessert but a moment of feeling celebrated. That's worth the effort, truly.
Your Questions Answered
- → How is the pink ombre effect achieved?
The buttercream is divided into portions and tinted with varying amounts of pink gel food coloring, creating graduated shades applied layer by layer.
- → What flowers are safe for decoration?
Edible flowers such as violets, pansies, and rose petals are used, adding natural beauty and flavor while ensuring safety.
- → Can this cake be made in advance?
Yes, chilling the frosted cake for at least 30 minutes before slicing helps maintain clean cuts and flavor integrity.
- → What is the best way to achieve a moist sponge?
Using room-temperature ingredients and alternating flour with milk during mixing ensures a tender and moist vanilla sponge.
- → How should the cake be stored?
Keep it refrigerated to maintain freshness, especially because of the buttercream and floral decorations.