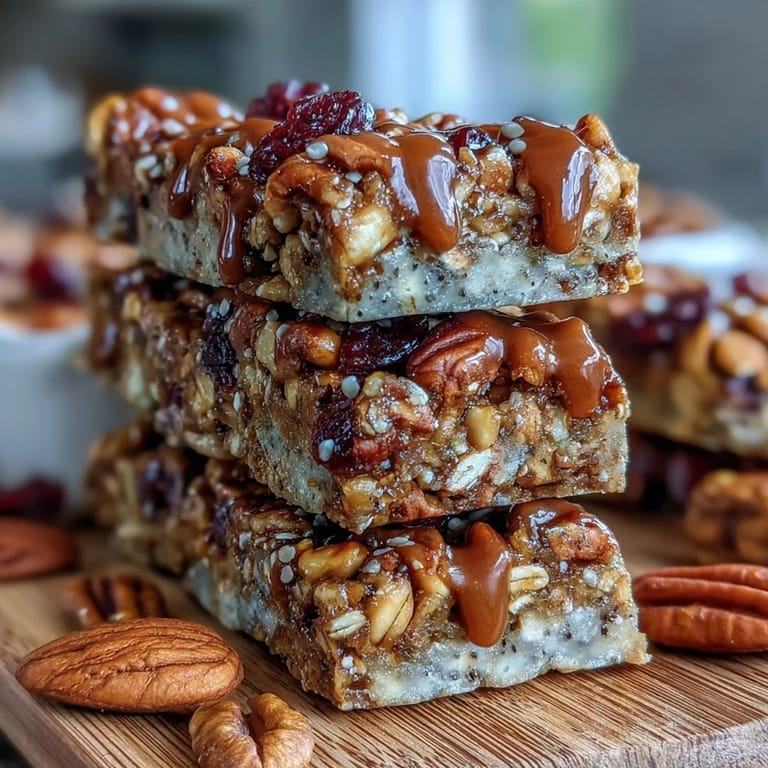
 Pin It
 Last summer, I was frantically packing for a hiking trip when my friend texted asking what snacks I was bringing. I opened my pantry and realized I'd been buying those expensive pre-made bars for months, never thinking I could just make them at home. That afternoon, I threw together this no-bake version in barely any time, and by the next morning, we had a whole stash of homemade bars that tasted infinitely better than anything store-bought. Now I make them constantly—they've become my go-to grab-and-go answer whenever I need something wholesome fast.
What really sold me on making these regularly was watching my kids demolish them after school, asking for seconds without being prompted. There's something about knowing exactly what went into each bar—no mysterious additives or sugar hiding in the ingredient list—that makes them feel like a gift I'm giving my family rather than just another snack.
Ingredients
- Old-fashioned rolled oats (2 cups): The foundation that gives these bars their chewy, substantial texture—don't use instant oats, as they'll turn mushy.
- Crisp rice cereal (1 cup): This adds a subtle crunch and lightness that keeps the bars from feeling dense, plus it extends your ingredient cost without sacrificing quality.
- Mixed nuts, chopped (1/2 cup): I use whatever combination is on sale—almonds, walnuts, and pecans work beautifully together—and I chop them by hand rather than using pre-chopped so they stay fresher.
- Dried fruit (1/2 cup): Cranberries bring tartness that balances the sweetness, but raisins and chopped apricots create different moods depending on what you're craving.
- Shredded coconut, unsweetened (1/4 cup): This is optional, but it adds a subtle tropical note and helps bind everything together slightly better.
- Salt (1/4 teaspoon): A pinch that makes everything taste more like itself, not salty—it's the secret ingredient nobody talks about.
- Honey or maple syrup (1/2 cup): Honey gives a cleaner sweetness, while maple syrup adds earthiness; both work equally well, so choose what you have in the pantry.
- Peanut or almond butter (1/3 cup): This is your binder and flavor hero—creamy versions work best because they incorporate smoothly without lumps.
- Vanilla extract (1 teaspoon): A small amount that rounds out all the flavors, making them feel more cohesive and less like individual ingredients.
- Mini chocolate chips and chia seeds (optional): These are your chance to personalize—add them or skip them based on what you're in the mood for.
Tired of Takeout? 🥡
Get 10 meals you can make faster than delivery arrives. Seriously.
One email. No spam. Unsubscribe anytime.
Instructions
- Set up your workspace:
- Line your 8-inch square pan with parchment paper, letting some hang over the edges so you can lift the finished bars out cleanly later. This step saves you from frustration—trust me, trying to cut bars out of a bare pan is a nightmare.
- Combine all the dry components:
- In a large bowl, toss together the oats, rice cereal, nuts, dried fruit, coconut, and salt until everything is distributed evenly. This ensures that every bite has a balance of flavors rather than clumps of dried fruit in one bar and nothing in another.
- Warm and blend the wet ingredients:
- Put honey and peanut butter in a small saucepan over low heat, stirring occasionally until they're melted together and completely smooth—it should take about 2 to 3 minutes. Once it looks like a glossy mixture, remove it from heat and stir in the vanilla extract.
- Marry the wet and dry:
- Pour the warm honey mixture over your dry ingredients and mix thoroughly with a spatula or wooden spoon until everything is coated evenly and there are no pockets of dry oats hiding at the bottom. The mixture will look wetter than you'd expect, but that's exactly right.
- Add chocolate if you're using it:
- Wait 2 to 3 minutes for the mixture to cool slightly before folding in chocolate chips if you're using them—this prevents them from melting into oblivion. If you're skipping chocolate, move straight to the next step.
- Press into the pan:
- Transfer the mixture to your prepared pan and use a spatula or the flat bottom of a measuring cup to press it down firmly and evenly across the surface. Don't be timid here—a tightly packed bar holds together better and has a more satisfying bite.
- Add a finishing touch:
- If you want, sprinkle extra chocolate chips or nuts on top and press them gently into the surface so they stay attached through the chilling and cutting process.
- Chill until set:
- Pop the pan into the refrigerator for at least 1 hour until the mixture is firm to the touch and won't break apart when you slice it. I usually make mine in the morning and cut them after lunch.
- Cut and store:
- Use the parchment overhang to lift the entire block out of the pan, then use a sharp knife to cut it into 12 bars—a sawing motion works better than downward pressure. Store them in an airtight container in the fridge for up to a week, and they stay chewy throughout.
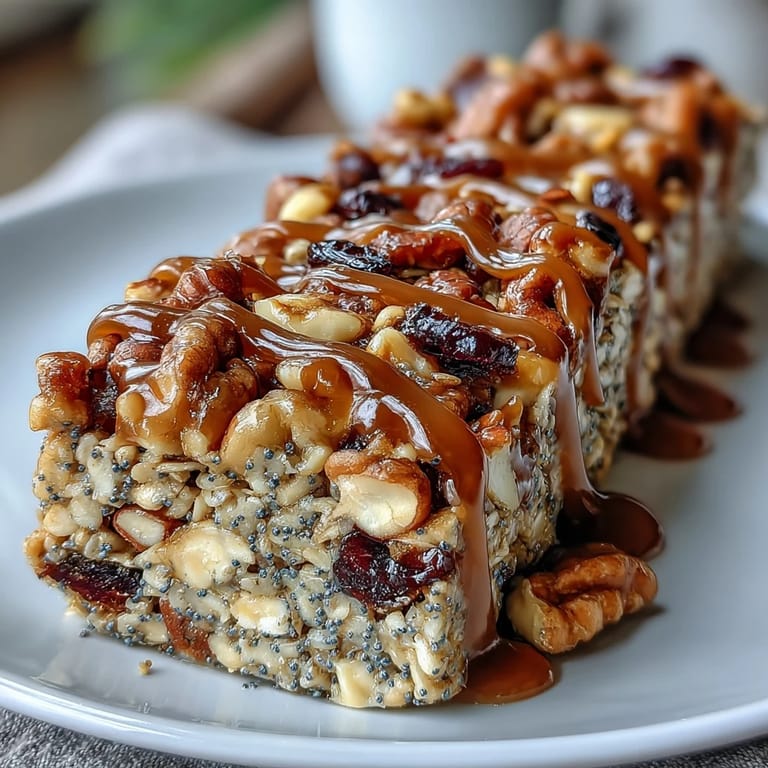 Pin It
 There's a moment right when you pull these bars out of the fridge and slice into them—when you see that clean cut with everything perfectly intact—that makes the minimal effort feel like you've done something impressive. My nephew once asked if I bought them at a fancy grocery store, which somehow meant more to me than if I'd baked something for three hours.
Flavor Combinations That Actually Work
Once you've made the basic version, you start seeing possibilities everywhere. I've tried adding a quarter teaspoon of cinnamon with the oats for a fall version, and it transforms the whole thing into something that tastes like breakfast. Cardamom is magical too if you want something more unexpected—just a pinch changes everything without being overwhelming. The beauty is that you can keep the base recipe exactly the same and just swap dried fruits or spice combinations depending on the season or what you've got in the pantry.
Making Them Work for Different Diets
I made a nut-free batch for my friend's son using sunflower seed butter instead of peanut butter, and honestly, nobody could tell the difference. The flavor profile is slightly earthier, which I actually prefer in some moods. For vegan friends, swap the honey for maple syrup and use dairy-free chocolate chips, and the bars turn out just as satisfying—the binding still works perfectly because the peanut or seed butter is doing the heavy lifting, not any animal products.
The Science Behind Why These Hold Together
The magic isn't complicated—the nut butter and honey create a sticky matrix that holds all the dry ingredients together, and refrigeration sets that matrix firm. I used to overthink it, wondering if I needed egg or some other binder, but the answer was right there in the basic ingredients all along. The key is that balance between wet and dry, and that's why measuring matters more than it might seem.
- If your bars seem too crumbly after chilling, you either didn't press them firmly enough or your ratio of honey to dry ingredients was off—add a tablespoon more honey next time.
- For bars that stay chewy throughout their storage life, keep them in the fridge rather than the counter, as room temperature softens the honey and makes them stick together.
- A sharp knife and a gentle sawing motion will give you cleaner cuts than trying to slice straight down, and wiping the knife between cuts keeps everything neat.
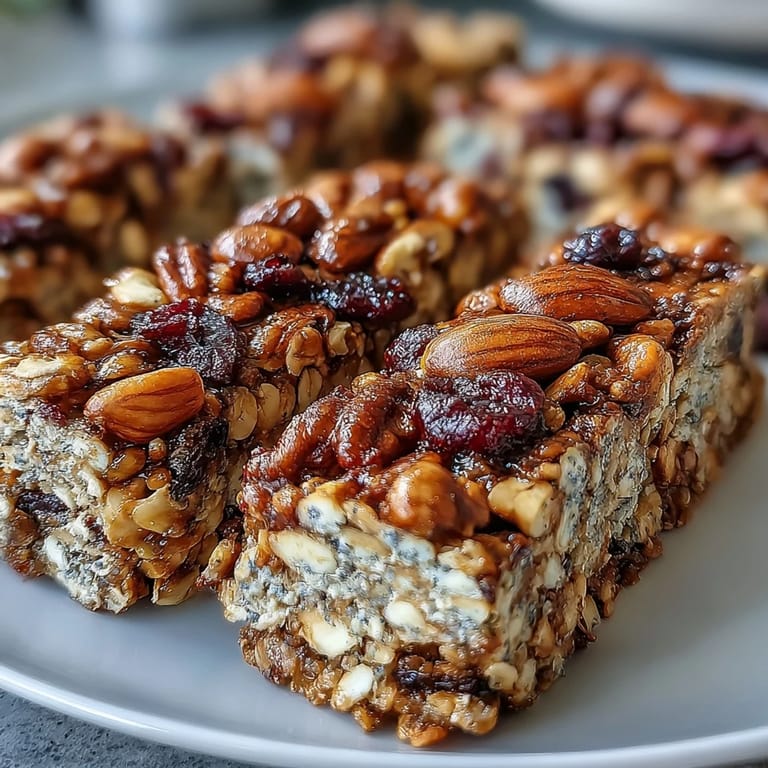 Pin It
 These bars have quietly become my answer to 'what can you bring' for almost every occasion, and I've stopped apologizing for bringing homemade instead of store-bought. They're proof that the best snacks don't require fancy techniques, just good ingredients and a little fridge time.
Your Questions Answered
- → Can I substitute peanut butter with another spread?
Yes, sunflower seed butter or almond butter work well for different flavors or nut-free options.
- → How do I keep the bars from crumbling?
Press the mixture firmly into the pan, then chill for at least an hour to help the bars set and hold together.
- → Are these bars suitable for vegans?
Use maple syrup instead of honey and opt for dairy-free chocolate chips to make these bars vegan-friendly.
- → Can I add spices to enhance flavor?
Yes, cinnamon or cardamom add warm, aromatic notes to the bars.
- → What storage method maintains freshness?
Store bars in an airtight container in the refrigerator for up to one week to retain freshness and texture.